Key Takeaways
Video Tours Attract Quality Renters: They provide transparency, build trust, and give prospective tenants a real sense of the property before visiting.
Planning and Equipment Matter: Preparing the home, scripting, and using the right tools, camera, lighting, and audio, make your video polished and professional.
Editing Brings it Together: Trimming clips, adding narration, and branding the final product transforms raw footage into a compelling marketing tool.
Video tours are now an integral part of marketing tools in the modern-day rental market. Before making commitments for an in-person visit, potential tenants now crave a virtual feeling of the property.
Landlords can utilize video tours as a tool to offer transparency, build trust, expand their reach, and save time. Creating professional-quality video tours is becoming a necessity for competitiveness, rather than a luxury for landlords and property managers.
In this article from Penny Realty, Inc., we will provide an in-depth guide on creating high-quality video tours of rental properties.
These strategies will span from the preparation to the post-production. With this, landlords can highlight unique features on their rentals, present them effectively, and attract quality tenants easily.
Why Are Video Tours Essential?
It shows transparency and breeds trust: Renters suspect that some property listings may have misleading pictures and exaggerated descriptions. When tenants view high-quality video tours, this uncertainty reduces.
Tours are essential because they:
Increased Reach and Visibility: International or distant renters may use video tours as their primary means of evaluating a property before leasing it. These listings will attract more views and inquiries than those with no video tours.
Competitive Edge: Savvy landlords use these well-produced videos to convey professionalism and attract them. To most potential tenants, these video tours will create a positive first impression of the landlord and the property management.
Time Efficiency: Landlords can use video tours to filter out renters who are unlikely to be interested in the property. These uninterested parties will not book in-person tour spaces that would have been reserved by highly motivated applicants. As a result, the number of unnecessary showings will be reduced.
Before you dive into the details, it’s important to set the stage for success, starting with how you prepare the property itself.
Steps to Creating a Great Video Tour of Your Rental Property
Before you dive into the details, it’s important to set the stage for success.
1. Prepare The Rental Property
Preparation is essential for landlords who intend to make great video tours. You don’t want to video the property in a bad state.
For that reason, do the following:
Deep Cleaning: Every area of the rental property should be spotless, including all rooms, bathrooms, kitchens, hallways, waiting areas, windows, mirrors, doors, carpets, fixtures, appliances, etc. Use professional cleaners for better results.
Maintenance and Repairs: Potential renters can spot maintenance issues by merely watching a video tour if they pay close attention. Landlords should address issues such as chipped paint, loose handles, or dripping faucets. Ensure you maintain the property well.
Decluttering and Staging: Tenants chose properties based on emotions. They want to imagine themselves in the property and how they would feel, before deciding whether to settle for the home or not. Make the room appear bigger using minimal and neutral decor.
2. Plan The Video Tour
Careful planning is necessary when creating a video tour for a rental property.
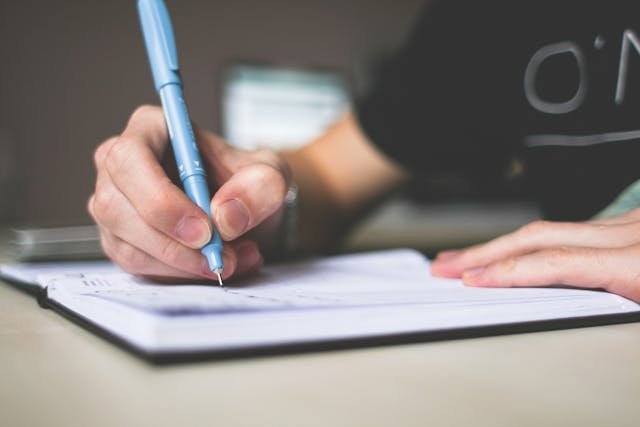
The planning will involve the following:
Determine the Sequence: Follow the flow of an in-person tour, start with the exterior and entryway, then move through living areas, kitchen, bedrooms, bathrooms, storage, and finish with outdoor spaces.
Draft a Script: Keep it simple and factual. Highlight key features like renovations, upgrades, lighting, appliances, storage, and size without exaggeration.
Set a Goal: Decide what you want the video to achieve, answer common questions, showcase unique features, or attract more renter interest.
By planning the flow, scripting thoughtfully, and defining clear goals, you’ll create a video tour that feels professional and resonates with potential tenants.
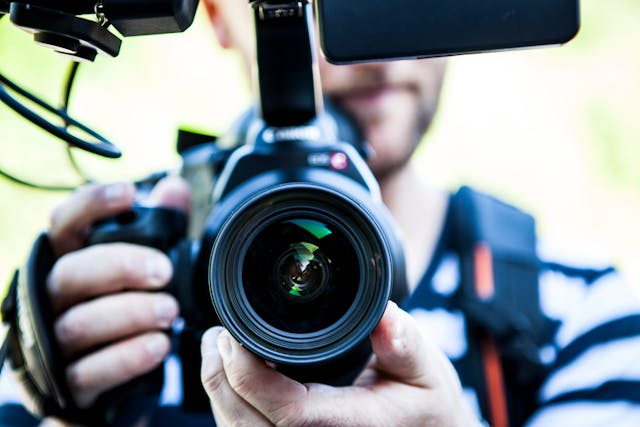
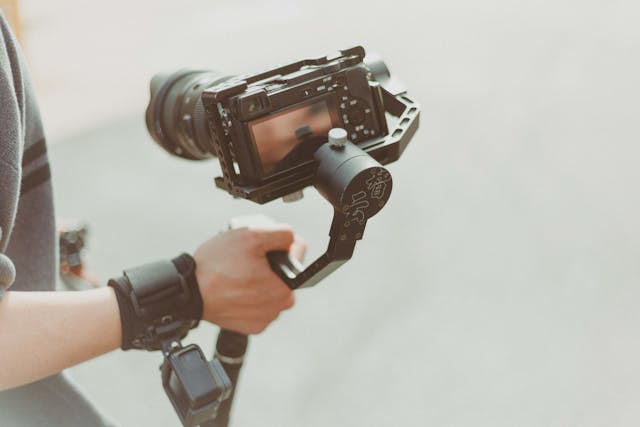
3. Choose Suitable Equipment
To make a great video tour, you need good equipment. Consider the following;
Camera: A smartphone with a high-resolution camera and image stabilization, or a mirrorless (DSLR) camera that has wide-angle options and low-light performance
Stabilization: Tripods or gimbal stabilizer
Lighting: Use natural daylight (open curtains and blinds) and portable LED for darker rooms to balance consistency.
Audio: External microphones are necessary for live narration, or you record the narration separately and overlay it during the editing phase.
Editing Tools: You can choose the available free or paid software options.
With the right equipment in place, you’ll be able to capture a clear, polished video tour that leaves a strong impression on prospective tenants.
4. Consider Filming Techniques
This will differentiate professional videos from amateur ones.
Factors to consider:
Orientation: Horizontal (landscape) mode is widely compatible on many platforms
Movements: This should be slow and steady, panning left to right, or up and down when necessary. Avoid overpanning as it can be disorienting to viewers. Naturally walk forward as you would when leading a tour.
Angles: Filming at chest height will give an eye-level perspective. Take closer shots to highlight special features, and capture the entire room with wider shots.
Duration: This should be concise (3 to 5 minutes for apartments and 5 to 8 minutes for single-family homes).
Consistency: The exposure and home lighting should be similar across every area (without sudden changes in brightness).
Paying attention to orientation, movement, angles, timing, and consistency will give your video a polished, professional feel that keeps viewers engaged.
Final Thoughts
Filming a great video tour for a rental property cannot be complete without transforming the raw footage into a professional presentation. That is where video editing comes into play.
This process includes trimming and organizing clips, adding titles and labels, overlaying narration or music, incorporating your branding, and exporting the final video in high definition.
A polished video tour not only reduces vacancy periods but also builds tenant trust, showcases your property’s strengths, and helps your listing stand out in a competitive market.
Start planning your video tour today, or reach out to a property management professional like Penny Realty, Inc. for expert help!